
Porcelain tiles are one of the most common floor finishes for kitchens with underfloor heating. They are dense, absorb very little water, and carry heat from the system up into the room. The tile is only part of the job, though. The adhesive, the subfloor, the screed and the way the heating is switched on for the first time all affect how the floor performs. This guide covers each one in the order you’ll deal with it.
Why Porcelain Tiles and Underfloor Heating Suit Each Other
Porcelain is dense and absorbs very little water, so it stays stable as it heats up and cools down. It also conducts heat well, which means the warmth from the system reaches the surface quickly. In practice, you can often run the heating at a lower temperature than you would with thick timber, which can help reduce energy use.
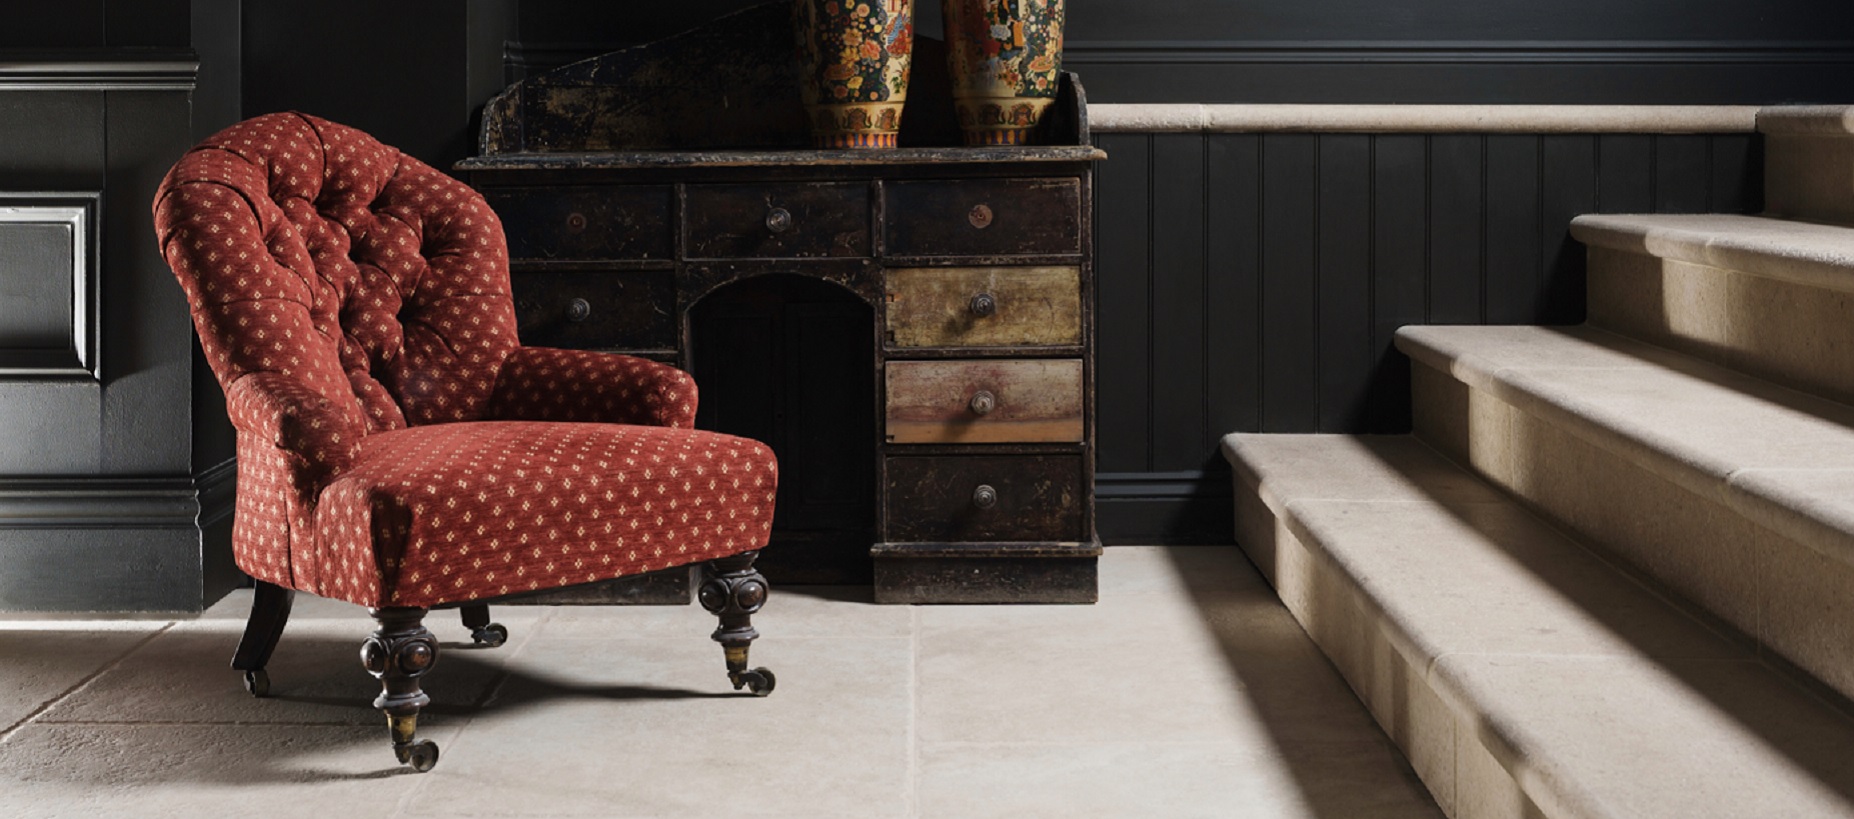
Other materials can work too. Engineered oak is a popular choice over underfloor heating, but it needs more care around surface temperatures and moisture. Natural stone does well, though some types are slower to warm through. Porcelain flooring is the most forgiving of the three, which is why it’s such a common choice for kitchens.
Check Tile Thickness and Format
Standard porcelain floor tiles are between 8mm and 11mm thick. Thinner tile pass heat to the surface sooner. Thicker tiles take longer to warm up and release heat for longer after the system switches off. If you want the room to respond quickly to the thermostat, choose a thinner tile.
Large-format tiles (600 x 600mm and above) leave fewer grout lines, but they need a flatter subfloor than small tiles do. Any hollow space under a large tile can crack it once the floor starts to expand and contract. Ask your tiler to check flatness with a long straight edge before work starts.
Match the Heating System to the Kitchen
There are two main types:
- Warm water systems are pipes set in screed or fixed in insulated panels. They cost less to run than electric systems but add 15 to 75mm to the floor height, depending on the build-up. They suit new builds and extensions.
- Electric mats or cables are 3 to 5mm thick and stay in the tile adhesive or a thin levelling layer. They suit renovations where floor height is limited, but running costs are higher.
With either type, lay insulation boards under the system so heat goes up into the room instead of into the ground. Install a thermostat with a floor sensor, which stops the surface from exceeding the temperature limit set by the system manufacturer. For water systems, BS EN 1264 sets a floor surface maximum of 29°C in living areas.
Choose the Adhesive, Grout and Movement Joints
Underfloor heating makes the floor expand slightly when it warms and contract when it cools. The materials that hold the tiles must be able to absorb that movement.
Adhesive: Use a cement-based flexible adhesive (classified S1 or S2 under BS EN 12004) that the manufacturer approves for underfloor heating and for porcelain. Standard adhesives can lack the grip that dense, low-porosity tiles need.
Coverage: Apply adhesive to both the subfloor and the back of the tile (known as “back buttering”) so there are no voids. For floors, the target is full coverage.
Grout: Use a flexible grout that is rated for underfloor heating.
Movement joints: Leave a joint at the perimeter of the room and at intervals across large areas. Your tiler should set these positions in line with BS 5385-3.
Prepare the Subfloor and Allow the Screed to Cure
The subfloor must be clean, level, dry and stable before any tiles go down.
If the heating pipes or cables are embedded in a new screed, common guidance is to allow one day per millimetre of thickness up to 50 mm; a 65 mm screed therefore needs about 50 days, plus additional time for the remaining thickness. Anhydrite (calcium sulphate) screeds follow different timings and often need sanding and priming. Follow the screed supplier’s written instructions. Tiling over screed that is still damp can trap moisture and cause the adhesive to fail.
Where the subfloor is likely to move, for example over timber floorboards or a screed with hairline cracks, ask your installer whether a decoupling membrane is needed.
Plan the Layout Around Units and Appliances
Mark the positions of the base units, the islands and built-in appliances on the subfloor before the heating is laid. The area under fixed cabinets does not need heating. Heat has no route out of that space, and it adds cost without warming the room.
Also confirm door thresholds and the finished floor height at the edges. A water system plus tiles and adhesives can raise the floor enough to affect door clearances and the height of adjoining rooms.
Bring the Heating Up in Stages
Do not switch the system on at full temperature as soon as the tiling is finished. The adhesive and grout need to cure first. Cement based products generally specify at least 7 days before heating starts, and rapid-set products can be shorter. Check the data sheet for the exact product.
After that, raise the temperature in steps. A commonly used pattern for water systems, based on BS EN 1264-4, is to start at 25°C for 3 days, then run at the maximum design temperature for 4 days. Many installers also use increases of 5°C per day. Follow the schedule set by your heating and adhesive manufacturers, and keep a written record of each step in case you need to show it later.
When the heating is turned off at the end of the season, lower the temperature gradually in the same way.
Choose a finish that suits kitchen use
Kitchen floors get wet and greasy, so check the slip resistance. The two ratings are the R-value (R9 to R13, tested on a ramp) and the Pendulum Test Value (PTV). A matt or lightly textured finish gives more grip than a polished one and shows fewer marks.
Rectified tiles have edges cut to a precise size, which allows grout joints as narrow as 2mm. Narrower joints mean less grout to clean.
Stone-effect, concrete-effect and marble-effect porcelain tiles all work in kitchens, so the choice comes down to the look you want. Order samples of your shortlisted porcelain tiles and place them next to your worktop and cabinet samples, in the kitchen’s own daylight and evening lighting, before you commit.
Conclusion
A kitchen floor made of porcelain tiles with underfloor heating is warm underfoot on winter mornings, wipes clean after spills, and copes with daily use without special care. Most of what makes it work is decided before the first tile is laid: a tile and adhesive approved for underfloor heating, a screed given its full curing time, no heating under fixed units, and a gradual heat-up once the tiling is finished.
Before you order, ask your installer to confirm each of these against the manufacturers’ guidance in writing. Then get samples of your shortlisted porcelain tiles and look at them in your own kitchen, next to your worktops and cabinets. Both steps take very little time, and they mean the floor you choose is the floor you end up with
Comments (0)
Want to join the discussion?
Log In to Comment